What should an equipment rental checkout and return checklist actually include?
A consistent checklist protects your gear and settles condition questions fairly.
A solid checklist confirms the exact item and every accessory, records condition with dated photos, and captures the rental period, rate, deposit, and late-fee terms. At return, it prompts staff to test the item, compare it against the checkout photos, and verify accessories before releasing the deposit.

Verify the item and accessories
At checkout, confirm the exact item and every accessory that goes with it, from cables to cases to batteries. Missing accessories are a common source of disputes.
A written list of what left with the renter makes the return check simple. You compare against it rather than relying on memory.
Keep reading: How do small rental businesses prevent double bookings on popular equipment?, Why do damage deposits matter for tool camera and party rental businesses?, How can rental businesses track equipment availability across many overlapping bookings?. See how GearRentr helps you equipment rental booking and availability.
Record condition with photos
Note and photograph the condition at checkout, including any existing scratches or wear. This baseline protects both you and the renter. Related: Which condition notes should staff record before handing over rented equipment?
The same photos matter at return. Comparing before and after is how you distinguish new damage from pre-existing marks. Related: Why do damage deposits matter for tool camera and party rental businesses?
Confirm terms and deposit
Capture the rental period, return time, rate, and any damage deposit. Make sure the renter understands late fees and their responsibility for damage. Related: When should a rental business charge a late fee for returned equipment?
Clear terms at checkout prevent arguments at return. Everyone knows the rules before the gear leaves the counter.
Inspect thoroughly on return
At return, test the item, check for damage against the checkout photos, and confirm all accessories are present. Only then release or apply the deposit. Related: How do equipment rental deposits protect against damage lost and late returns?
A careful return inspection closes the loop. It ensures the next renter gets working gear and that any damage is caught while the renter is still there.
- List the item and every accessory
- Photograph condition at checkout and return
- Confirm terms, deposit, and late fees upfront
- Test and inspect thoroughly before releasing the deposit

Julien Jimenez
Julien Jimenez is an independent software builder based in Paris. He designs, ships, and operates focused SaaS products for small businesses and independent professionals. Read the full author page.
Frequently asked questions
Why do photos matter more than written notes alone?
Photos create a visual baseline that is hard to dispute. Comparing before and after images is the clearest way to distinguish new damage from marks that were already there at checkout.
What is the most commonly forgotten checklist item?
Accessories such as cables, batteries, chargers, and cases. Listing each one at checkout turns the return check into a simple comparison and prevents a frequent source of disputes.
Book gear without double bookings
Equipment rental booking and availability. GearRentr is built to help you put this into practice.
Start freeMore from the GearRentr blog
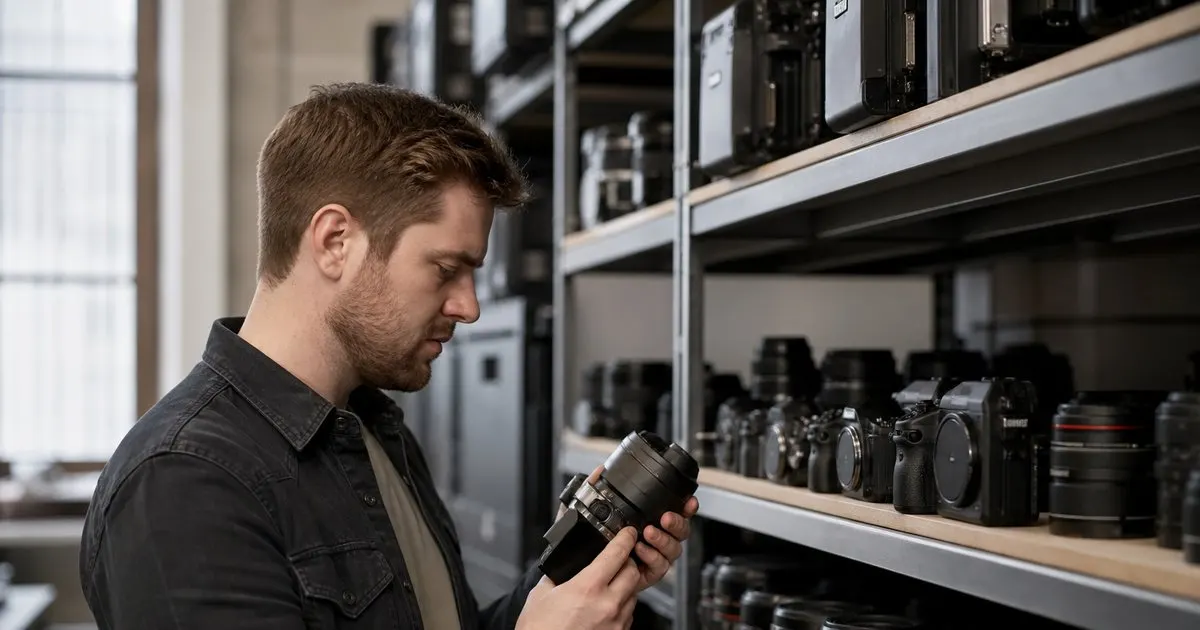
How do small rental businesses prevent double bookings on popular equipment?
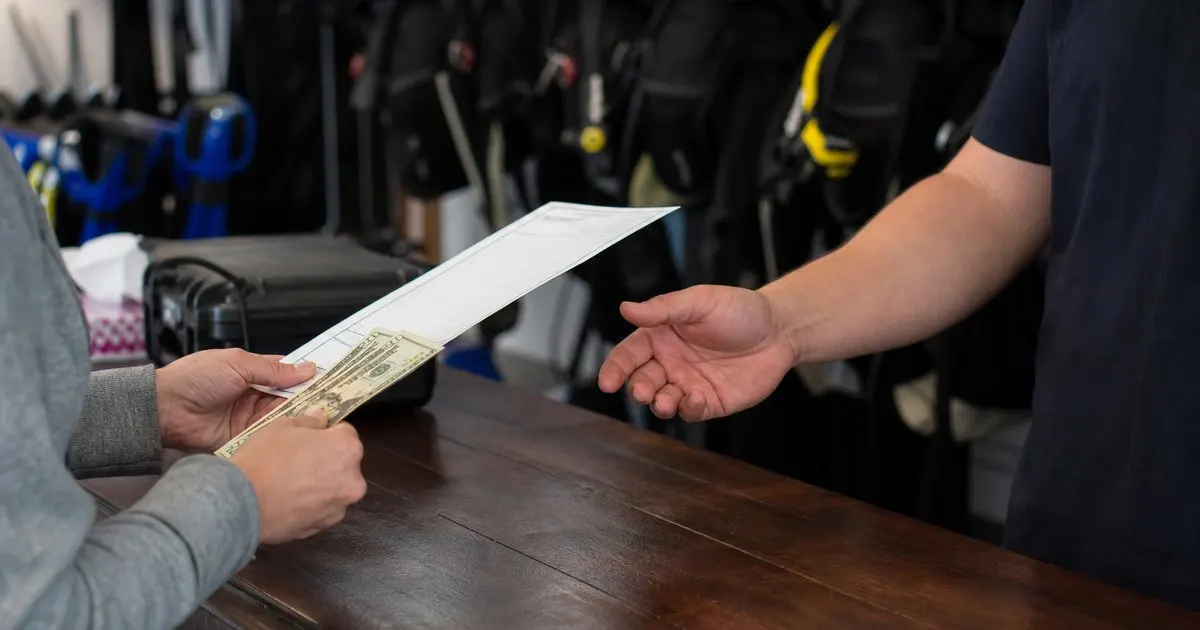
Why do damage deposits matter for tool camera and party rental businesses?

How can rental businesses track equipment availability across many overlapping bookings?
Get the GearRentr playbook
Practical guides on equipment rental booking, straight to your inbox as we publish them. No spam, unsubscribe any time.